

Building Your First Home Lab: A Comprehensive Guide for IT Enthusiasts
In the rapidly evolving world of Information Technology, practical experience is often more valuable than theoretical knowledge. This is where a home lab setup becomes your secret weapon. Whether you are a student aspiring to become a system administrator, a developer looking to test applications, or a tech enthusiast wanting to take control of your digital privacy, building a home lab is one of the most rewarding projects you can undertake.
A home lab is essentially a private environment in your house where you can experiment with servers, networking, and software without the fear of breaking anything critical. It is a safe sandbox for learning. Many top IT professionals credit their career progression to the skills they learned while tinkering with their own servers on weekends.
Contrary to popular belief, you do not need thousands of dollars or a dedicated server room to get started. You can build a powerful, functional lab using spare parts, old laptops, or affordable mini computers. This guide will walk you through everything you need to know to build a functional, educational, and fun home lab from scratch.
Why You Should Build a Home Lab
Before diving into the hardware, it is essential to understand the “why.” A home lab setup offers distinct advantages that online courses cannot replicate.
Hands-On Learning
Reading about DNS (Domain Name System) is one thing; configuring your own DNS server and accidentally breaking your home internet, then fixing it, teaches you lessons you will never forget. You gain muscle memory with command-line interfaces and network configurations.
Privacy and Control
In an age where data is a commodity, a home lab allows you to host your own services. Instead of storing your photos on a public cloud service, you can host them locally. Instead of relying on third-party password managers, you can host your own. You own your data.
Career Advancement
Listing “Home Lab” on a resume is a central talking point during job interviews. It demonstrates passion, curiosity, and the ability to self-teach. It shows employers that you do not just work in IT; you love IT.
Choosing the Right Hardware
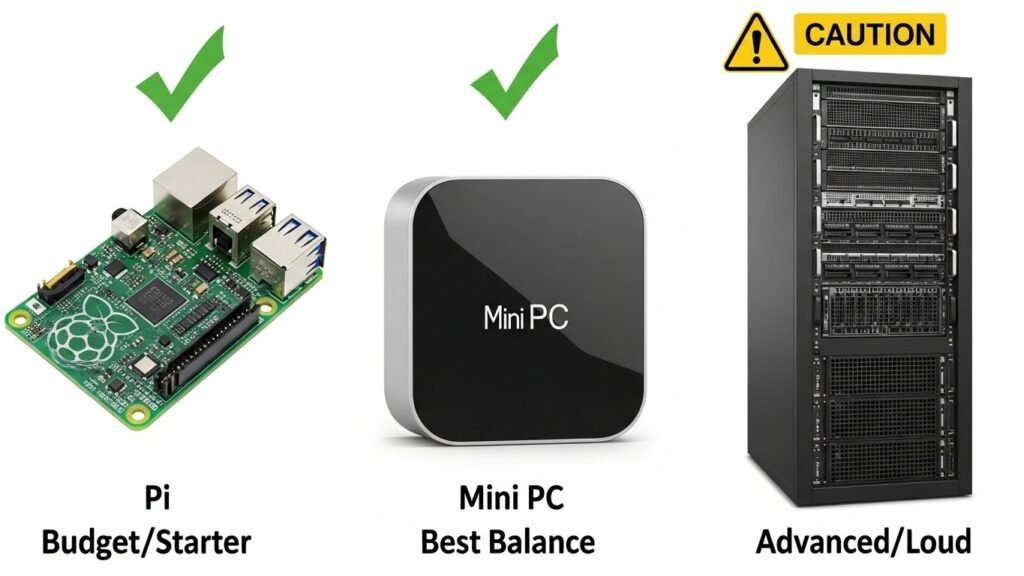
The biggest misconception about home labs is that they require expensive, loud, and power-hungry enterprise rack servers. For 99% of beginners, this is actually the wrong way to start. You want hardware that is quiet, power-efficient, and compact.
The “Use What You Have” Approach
The best hardware is the hardware you already own. Do you have an old laptop gathering dust in a drawer? That is a perfect server. Laptops have a built-in battery (which acts as a UPS or Uninterruptible Power Supply), a keyboard, and a screen. You can install a server operating system on it and tuck it away on a shelf.
Raspberry Pi and Single Board Computers
For those on a strict budget, the Raspberry Pi has revolutionized the home lab setup. These credit-card-sized computers are incredibly energy-efficient and can run lightweight services such as ad blockers, DNS servers, and simple web servers.
Mini PCs and NUCs
If you have a bit of a budget (typically $100-$300), a used Mini PC or Intel NUC (Next Unit of Computing) is often considered the “sweet spot” for home labs. They are powerful enough to run multiple virtual machines, very quiet, and consume much less electricity than a full-sized desktop tower.
Storage Drives
You will need storage. Please prioritize SSDs (Solid State Drives) over HDDs (Hard Disk Drives) for your operating system and applications. SSDs make your lab feel snappy and responsive. You can use larger, slower HDDs for bulk storage, such as backing up photos or storing media files.
The Software Layer: Operating Systems and Hypervisors
Once you have your hardware, you need software to run your services. You generally have two paths: “Bare Metal” or “Virtualization.”
Path 1: Bare Metal (Operating System)
This means installing an operating system directly onto the computer.
- Linux (Ubuntu/Debian): The industry standard. Learning Linux is essential for IT. Ubuntu Server is user-friendly and widely supported.
- Windows: If you are learning to be a Windows System Administrator, using Windows Server is practical, though it uses more system resources than Linux.
Path 2: Virtualization (The Recommended Path)
For a versatile home lab setup, virtualization is king. This involves installing a “Hypervisor” which allows you to run multiple “Virtual Machines” (VMs) on a single physical computer.
- Proxmox VE: This is currently the most popular choice for home labs. It is free, open-source, and accessed via a web browser. It allows you to create multiple virtual computers on a single physical machine.
- VMware ESXi: A standard in the corporate world, though licensing changes have made it less accessible for hobbyists recently.
Essential Technologies to Learn
Your hardware is running, and your OS is installed. Now, what technologies should you focus on?
Docker and Containers
If you learn one thing in 2026, make it Docker. Unlike a Virtual Machine, which simulates an entire computer, a Container packages only the application and its dependencies. They are lightweight and fast. Most modern home lab applications run inside Docker containers.
Portainer
If the command line scares you initially, Portainer is a graphical interface for managing Docker containers. It lets you click buttons to deploy apps instead of typing long commands.
Top 5 Project Ideas for Beginners
Here are five practical projects to get your lab running immediately.
1. Pi-hole (Network-Wide Ad Blocking)
This is the most popular first project. Pi-hole intercepts network traffic and blocks ads before they reach your devices. It works for your phone, tablet, computer, and even your Smart TV. It creates a faster, cleaner internet experience for your entire household.
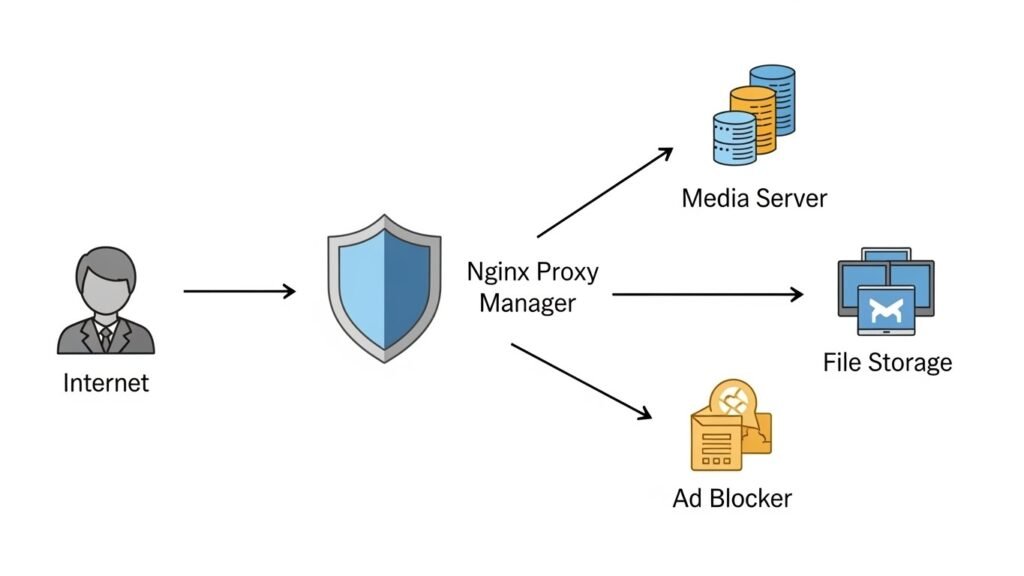
2. Media Server (Jellyfin or Plex)
Turn your lab into a personal Netflix. You can store your legally owned movie and music backups on your server and stream them to any device in your house. Jellyfin is a fantastic free and open-source alternative to Plex.
3. File Server / NAS (Nextcloud)
Nextcloud acts like a personal Google Drive or Dropbox. You can upload files, sync contacts, and back up photos from your phone automatically to your own server. This is excellent for data privacy.
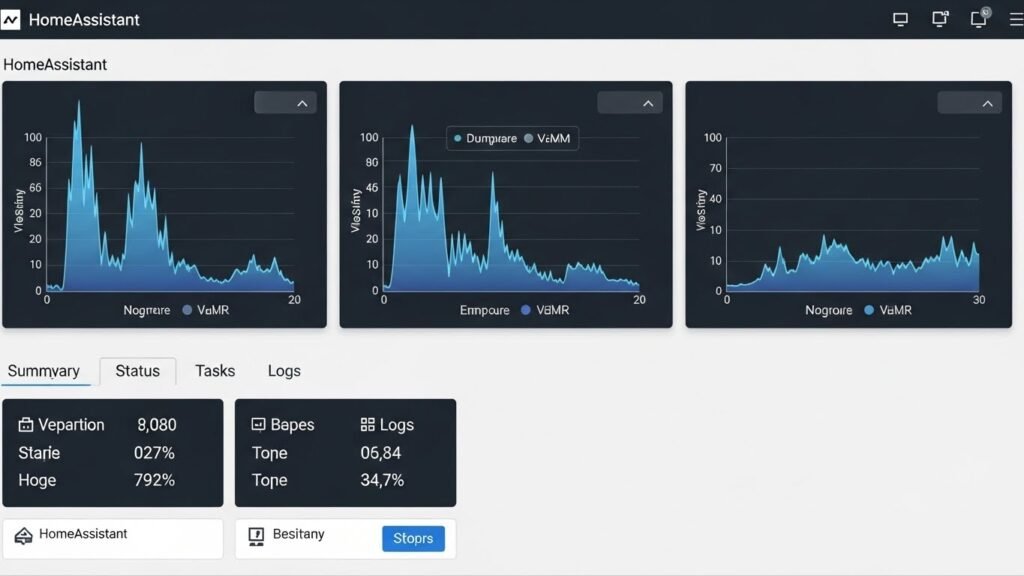
4. Home Automation (Home Assistant)
If you have smart bulbs or plugs, Home Assistant acts as a central brain to control them all without relying on the cloud. It is powerful and enables complex automations that standard apps cannot.
5. VPN (WireGuard or Tailscale)
Once your services are running, you can access them when you are not home. Setting up a VPN (Virtual Private Network) allows you to securely connect to your home lab from a coffee shop or hotel room.
Networking Basics for Your Lab
Building a home lab forces you to learn networking, a critical IT skill.
Static IP Addresses
Your server needs a permanent address. By default, routers assign “Dynamic” IPs that change occasionally. You must configure a “Static IP” for your server so that your other devices always know where to find it.
DNS (Domain Name System)
Instead of remembering 192.168.1.50 to access your server, you can set up a local DNS to use names like server. local or photos. home. This makes your lab much more family-friendly and easier to use.
Common Mistakes to Avoid
Even experienced tech enthusiasts make mistakes. Here are common pitfalls to avoid when starting.
Over-complicating the Hardware
Do not buy a loud, power-hungry enterprise server just because it looks “cool.” The noise will drive you crazy, and the electricity bill will be shocking. Start small and upgrade only when you actually run out of computing power.
Neglecting Backups
Just because it is a lab doesn’t mean the data isn’t essential. If you spend 20 hours configuring a server, and the drive fails, you lose that work. Learn the “3-2-1 Backup Rule”: 3 copies of data, on 2 different media, with 1 offsite.
Exposing Ports to the Internet
Never simply open ports on your router (Port Forwarding) unless you strictly know what you are doing. This invites hackers to attack your home network. Use a VPN like Tailscale or WireGuard to access your lab remotely—it is much safer.
Conclusion
Building a home lab setup is a journey, not a destination. You will break things, get frustrated, and eventually fix them. That cycle of breaking and fixing is where the authentic learning happens.
Start with the hardware you have today. Install Linux, set up an ad blocker, and see how it feels to control your own infrastructure. Whether you are doing this for a career boost or just for the love of technology, a home lab is an investment in yourself that pays dividends for years to come.


")
")
